17
/ 25
Sydney Harbour Bridge (c) Can Stock Photo Inc. / PhysioDave


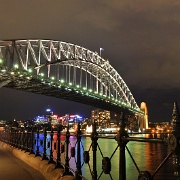

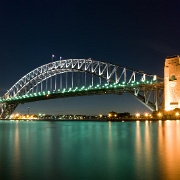


Sydney Harbour Bridge (c) Can Stock Photo Inc. / PhysioDave